Here, I'll show you how to make fidget toys from straws. They are free - all you need is a straw!
They're also small and easy to carry around. When I know I'm going to an event that I know will be stressful or distracting, I will bring two or three of them with me. I can use one discretely with my hand hanging at my side, or just fidget with it while it's still in my jacket pocket.
First, get a straw. If you used this straw to drink from, wash it first. I prefer to use milkshake straws, since they are larger and easier to work with.
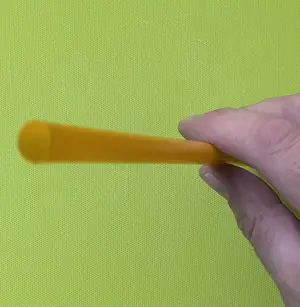
Step 1: Flatten the straw. Put two creases down opposite sides of the straw. You can ensure that the crease is strong and solid by pulling the straw along a sharp edge - e.g. the edge of a table or desk. You can also crease it with your fingernails.
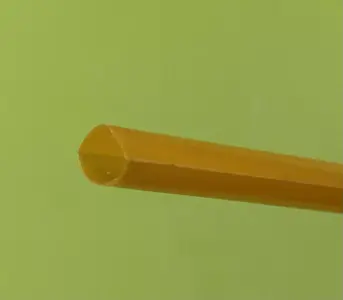
Step 2: Line up the creases at one end of the straw and press it flat to create the beginning of two more creases. I do this at both ends to make sure that the creases are perfectly placed.
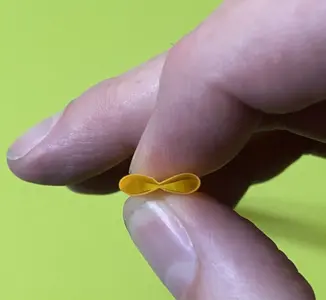
Step 3: Extend the new creases from both ends to meet in the middle. You should have four creases evenly spaced, giving the straw a square shape.
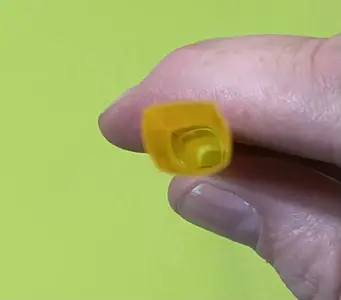
Step 4: Fold one end to make a small square. Press the creases to sharpen them.
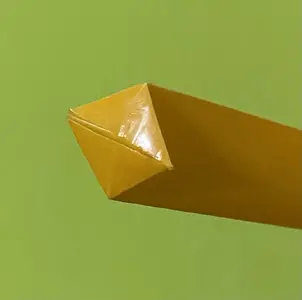
Step 5: Repeat this. The end of the straw should start taking an "accordion" shape.
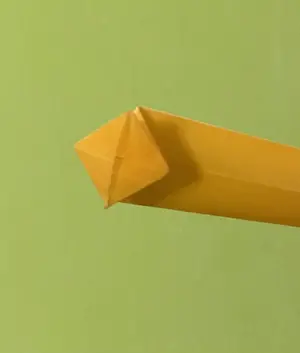
Step 6: Unfolded, it should look like this - a square with an 'x' inside.
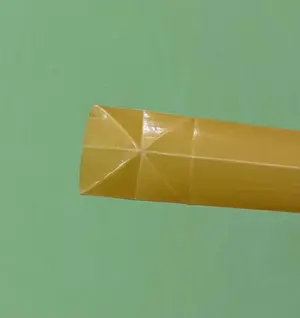
Step 7: Repeat this square fold 6 more time, to make 7 complete squares. While they are folded up, you can press them tightly to make the creases solid and sharp.
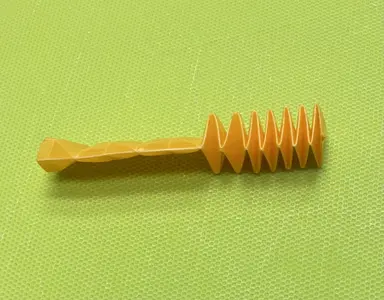
Step 8: Unfold everything. Cut off any extra straw. Cut a little off the end of the first and last square.
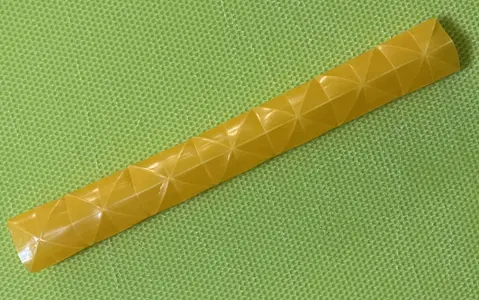
Step 9: Fold to make 5 squares at right angles to each other.
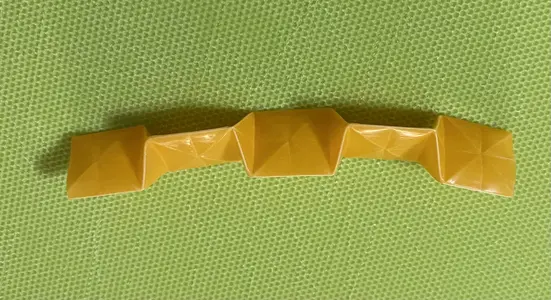
From this, you can make two different forms of the fidget toy - a "Ring" and a "Staircase".
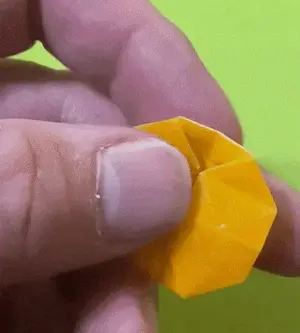
Step 10: Make the Ring form. Insert one end of the straw into the other end.
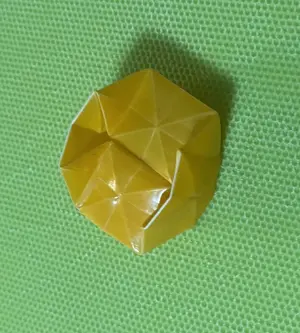
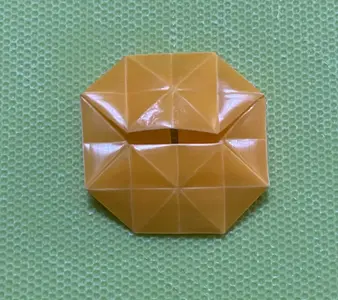
Step 11: Fidget with the Ring! This is a gif - click on it to activate it.
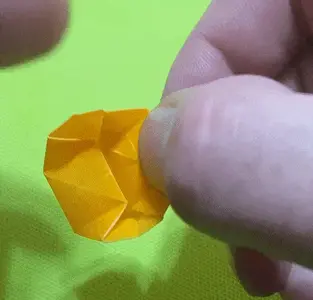
Step 12: Make the Staircase form. This is my favorite because it's easier to fidget with using a single hand, and because you can repeat the same move endlessly. The staircase goes "up" 3 times (where each side is higher than the previous side), then "down" once.
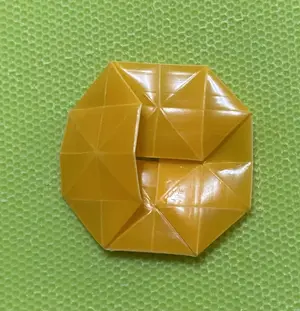
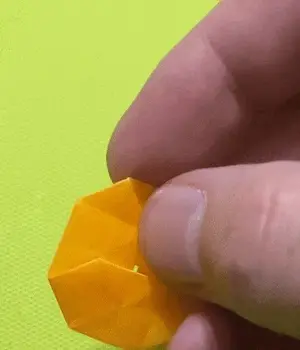
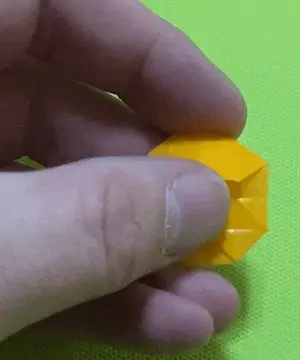
Step 12: Fidget with the staircase! Here are 3 ways that I use it. These are gifs - click on them to activate them.
I hope you enjoy these as much as I do!
They're also small and easy to carry around. When I know I'm going to an event that I know will be stressful or distracting, I will bring two or three of them with me. I can use one discretely with my hand hanging at my side, or just fidget with it while it's still in my jacket pocket.
First, get a straw. If you used this straw to drink from, wash it first. I prefer to use milkshake straws, since they are larger and easier to work with.

Step 1: Flatten the straw. Put two creases down opposite sides of the straw. You can ensure that the crease is strong and solid by pulling the straw along a sharp edge - e.g. the edge of a table or desk. You can also crease it with your fingernails.

Step 2: Line up the creases at one end of the straw and press it flat to create the beginning of two more creases. I do this at both ends to make sure that the creases are perfectly placed.

Step 3: Extend the new creases from both ends to meet in the middle. You should have four creases evenly spaced, giving the straw a square shape.

Step 4: Fold one end to make a small square. Press the creases to sharpen them.

Step 5: Repeat this. The end of the straw should start taking an "accordion" shape.

Step 6: Unfolded, it should look like this - a square with an 'x' inside.

Step 7: Repeat this square fold 6 more time, to make 7 complete squares. While they are folded up, you can press them tightly to make the creases solid and sharp.

Step 8: Unfold everything. Cut off any extra straw. Cut a little off the end of the first and last square.

Step 9: Fold to make 5 squares at right angles to each other.

From this, you can make two different forms of the fidget toy - a "Ring" and a "Staircase".
Step 10: Make the Ring form. Insert one end of the straw into the other end.


Step 11: Fidget with the Ring! This is a gif - click on it to activate it.

Step 12: Make the Staircase form. This is my favorite because it's easier to fidget with using a single hand, and because you can repeat the same move endlessly. The staircase goes "up" 3 times (where each side is higher than the previous side), then "down" once.

Step 12: Fidget with the staircase! Here are 3 ways that I use it. These are gifs - click on them to activate them.


I hope you enjoy these as much as I do!
